Creating Endpoints
Endpoints specify the location from which FintechOS APIs can access the resources they need to carry out their function. They play a key role in guaranteeing the correct functioning of the software that interacts with it.
You can add an endpoint, attach security roles, attach an automation script to it, then on digital journeys or data forms call action to it.
You can add endpoints either from the from Endpoints List page, or from the Edit Server Automation Script page, Endpoints section by clicking the Insert button. The Script field will be prefilled with the name of the automation script for which you create the endpoint.
Step 1. Create an endpoint
This section describes how to add an endpoint from the Endpoints page:
- From the menu, click Advanced > Endpoints. The Endpoints List page appears.
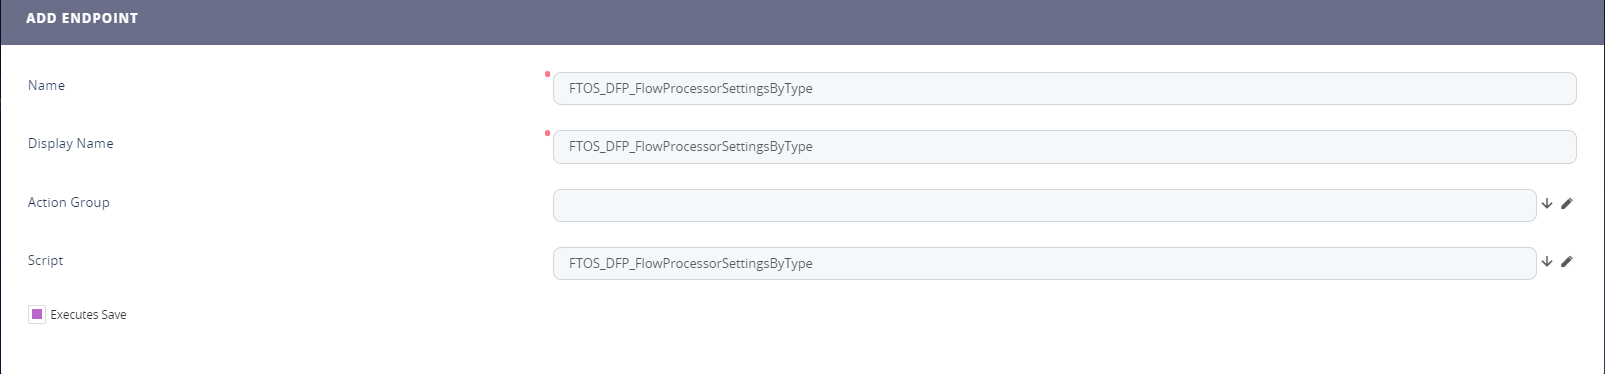
- At the top-right corner of the page, click the Insert icon. The Add Endpoint page appears.
- In the Name field type the name of the endpoint which will be used by the system.
- In the Display Name field, type the name of the endpoint which will be displayed on the button in the user interface.
- (Optionally)If you are working with actions groups, from the Action Group field, select the desired action group you have previously created. For more information on action groups, see Defining Action Groups.
- From the Script drop-down, select the on-demand automation script you previously created.
- At the top-right corner of the page, click the Save and close icon to save the endpoint or Save and reload to attach a security role to the endpoint.
You can now go to the digital journey or data form and call action to the server automation script.
Step 2. Attach security role to an endpoint
For higher security, you can now choose which security roles have the privileges to call actions on endpoints.
When calling actions on endpoints which have no security roles attached, errors will occur and the actions will not be performed.
To attach a security role to an endpoint:
- Go to the endpoint configuration page (Edit Endpoint page), scroll down to the SECURITY ROLES section and click the Insert existing button. A window appears which lists all defined security roles.
- Select one from the list by double-clicking on it or add a new security role (click the Insert button and provide all details required to add a new security role). The selected security role displays in the SECURITY ROLES section.
- At the top-right corner of the page, click the Save and close icon to save the endpoint or Save and reload to attach a security role to the endpoint.
